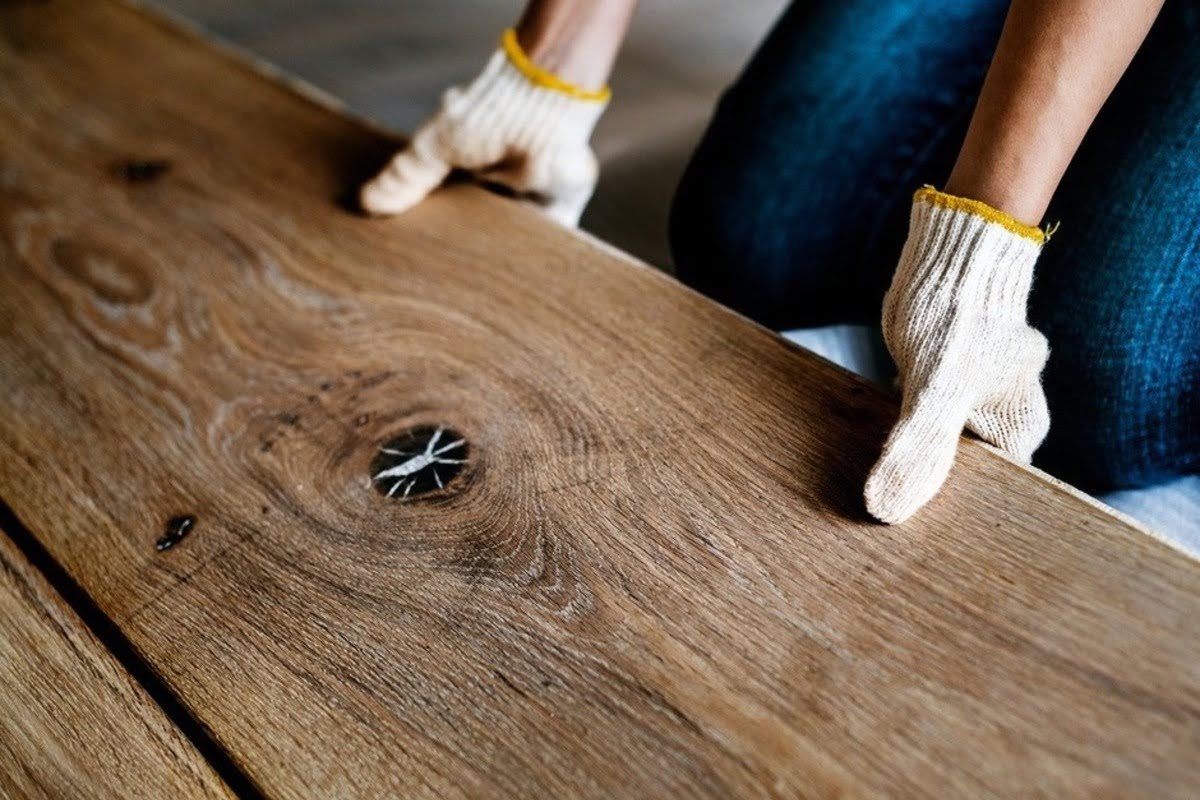
Right… let’s start from the spot where most homeowners get stuck. Width. Not species, not stain, not finish. Width. You’d think it’s the easier part – “wider feels modern,” “narrow feels classic,” that sort of quick Pinterest logic – but in real houses it never works that clean.
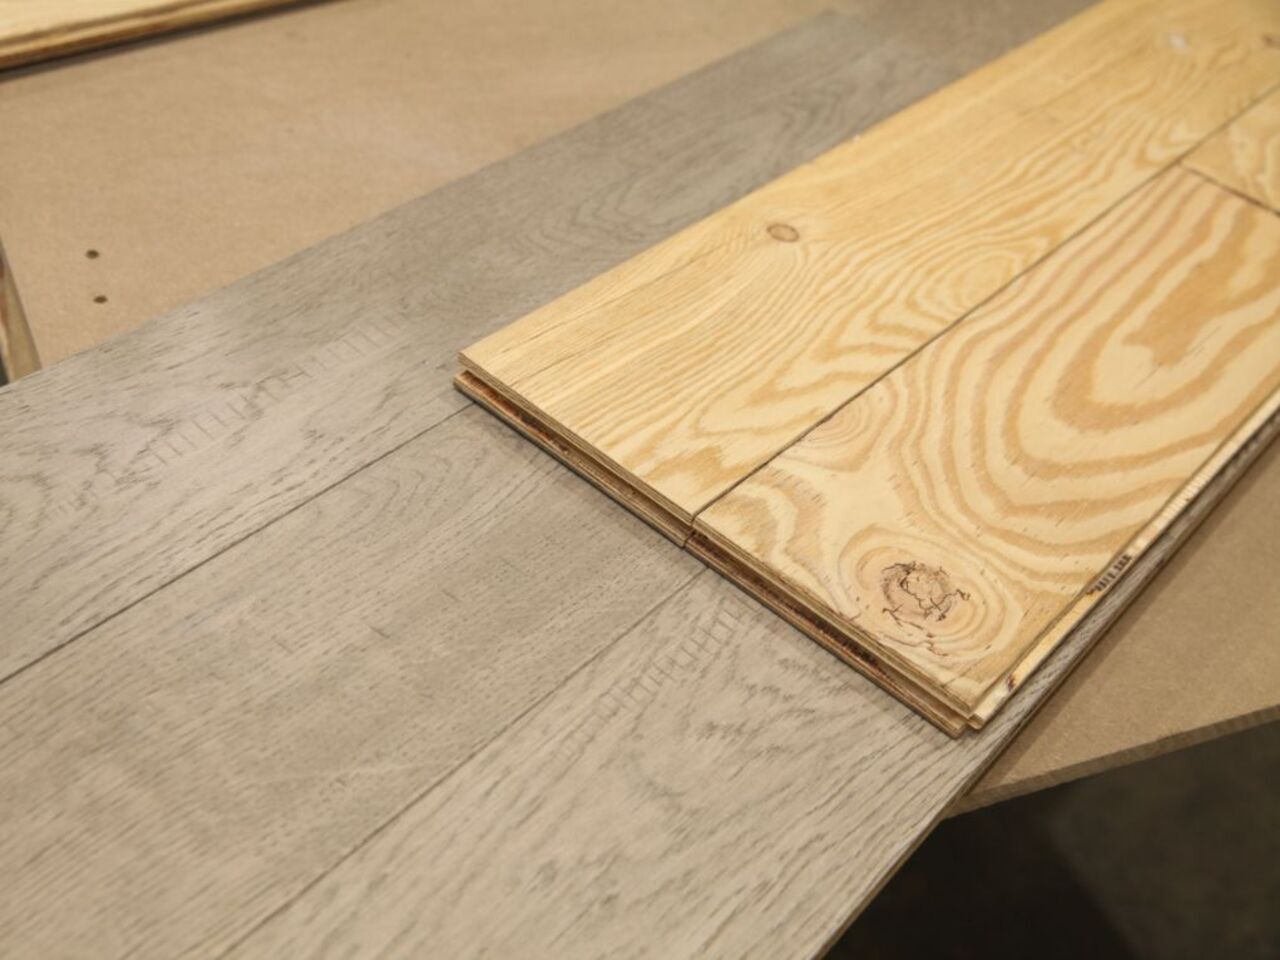
Wide plank means anything 5 inches and up, sometimes 7, 9, even 12. Narrow strip usually sits in the 1.5 to 3.25 inch range. On paper that gap sounds tiny. In a room? That little number decides the entire rhythm of the space.
On our projects at 1 DAY® Refinishing, this comes up constantly. Someone calls us thinking they want the widest boards the mill makes… then remembers they’ve got a hallway the size of a canoe. Or someone wants the old 2.25-inch red oak look… then walks into their open concept and realizes it feels too choppy.
So… here’s what we’ve learned over the years – real homes pick their own plank width. Not trends. Not catalogs. And definitely not the glossy showroom floor that’s perfectly flat with the humidity locked at 42% by a hidden HVAC.
Anyway, let’s get into it.
Wide Plank Hardwood Flooring
Visual Impact & Aesthetic Appeal
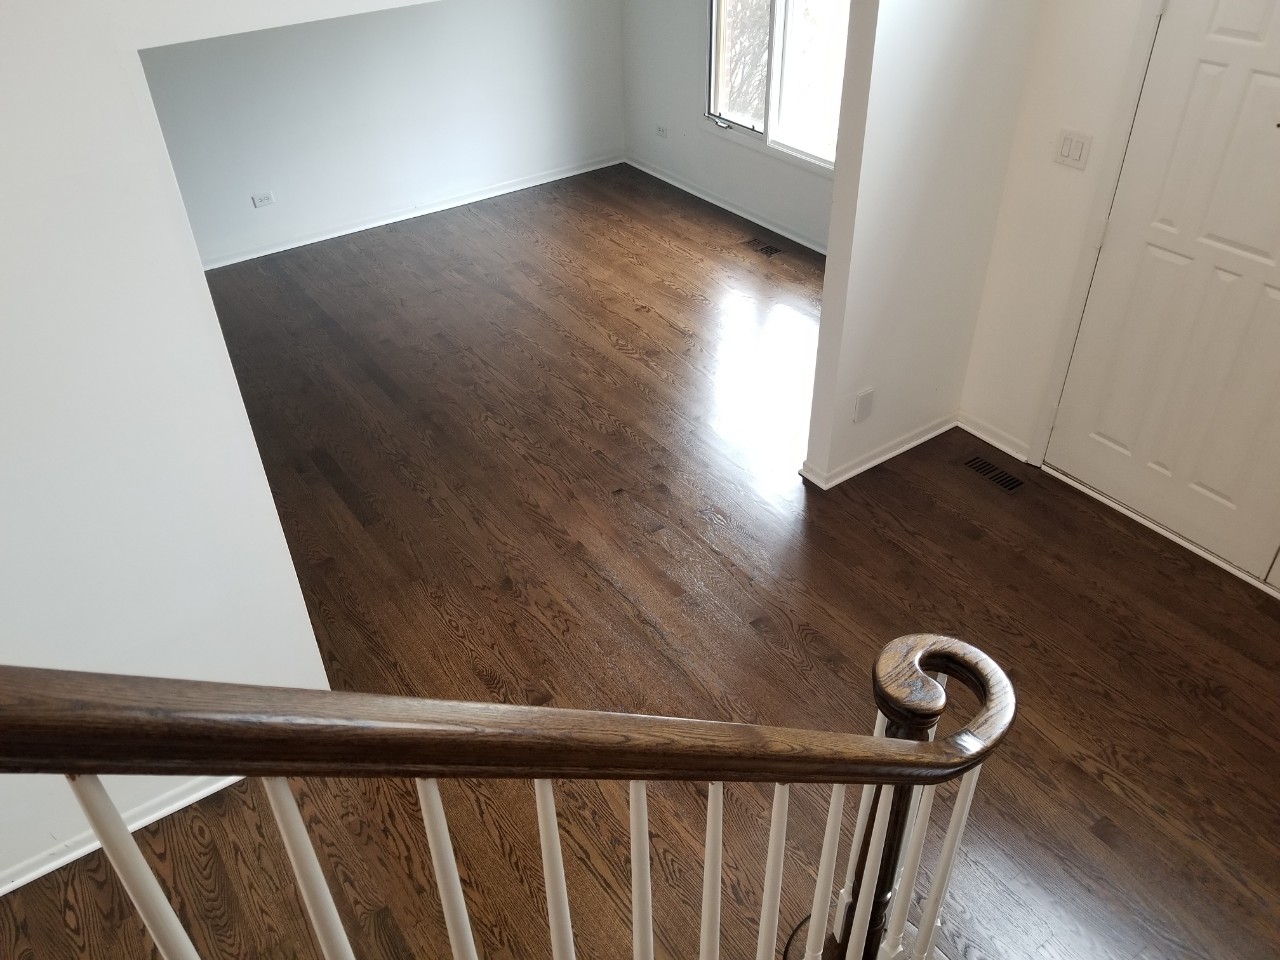
Wide planks hit you right away. They have this calm, open look – fewer seams, fewer interruptions, longer grain lines. Your eye kind of glides across the room instead of bouncing around on every joint.
And if we’re talking species like white oak or walnut, wide boards let those grain patterns breathe. You see the sweep of a cathedral grain instead of half of it chopped into three narrow strips. The flooring feels intentional – modern homes, rustic cabins, clean Scandinavian spaces, they all love wide boards for that reason.
You know… sometimes I bring a sample inside and even before I lay it down, homeowners go “Oh wow, that’s the one.” It’s that sort of impact.
Pros of Wide Plank Floors
From our experience:
- Wide planks open big rooms up – the whole space feels more expensive, even if it isn’t.
- They give you strong grain visibility – especially with rift & quartered cuts.
- Fewer seams = cleaner lines and a calmer vibe.
- They pair nicely with longer board lengths, which makes everything look balanced.
- Rustic, modern, or minimalist interiors all seem to adopt wide planks naturally.
There’s also a feeling underfoot. Hard to explain if you haven’t installed them, but wide planks have this quiet, low “thud” when you walk across. The mass dampens sound in a good way.
Challenges & Moisture Considerations
Now here’s the catch – and this part surprises homeowners every single time – wide boards move more. It’s not a defect, it’s just how wood behaves when moisture changes. According to NWFA’s 2023 guidance in Hardwood Floors Magazine, wood flooring will expand and contract with changes in relative humidity, and the amount of that movement increases as the board width increases.
In the winter you might see faint gaps or shadows along seams. In the summer, maybe a touch of cupping if humidity climbs fast. Nothing dangerous – just wood reacting to the house.
So, wide planks really depend on:
- consistent HVAC
- controlled humidity
- a dry subfloor
- careful acclimation
- sometimes choosing engineered instead of solid
I’ve had homeowners swear they want 10-inch boards… until we pull out the moisture meter and the crawlspace reads like a Florida swamp.
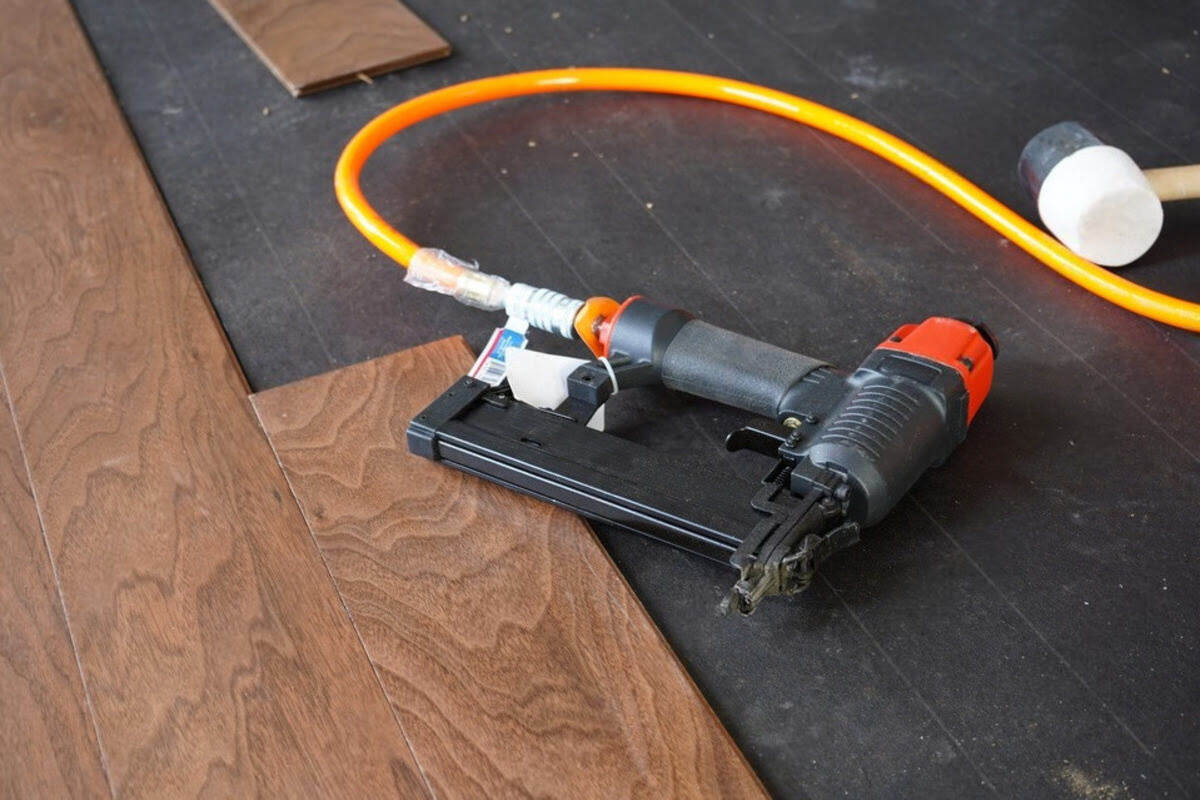
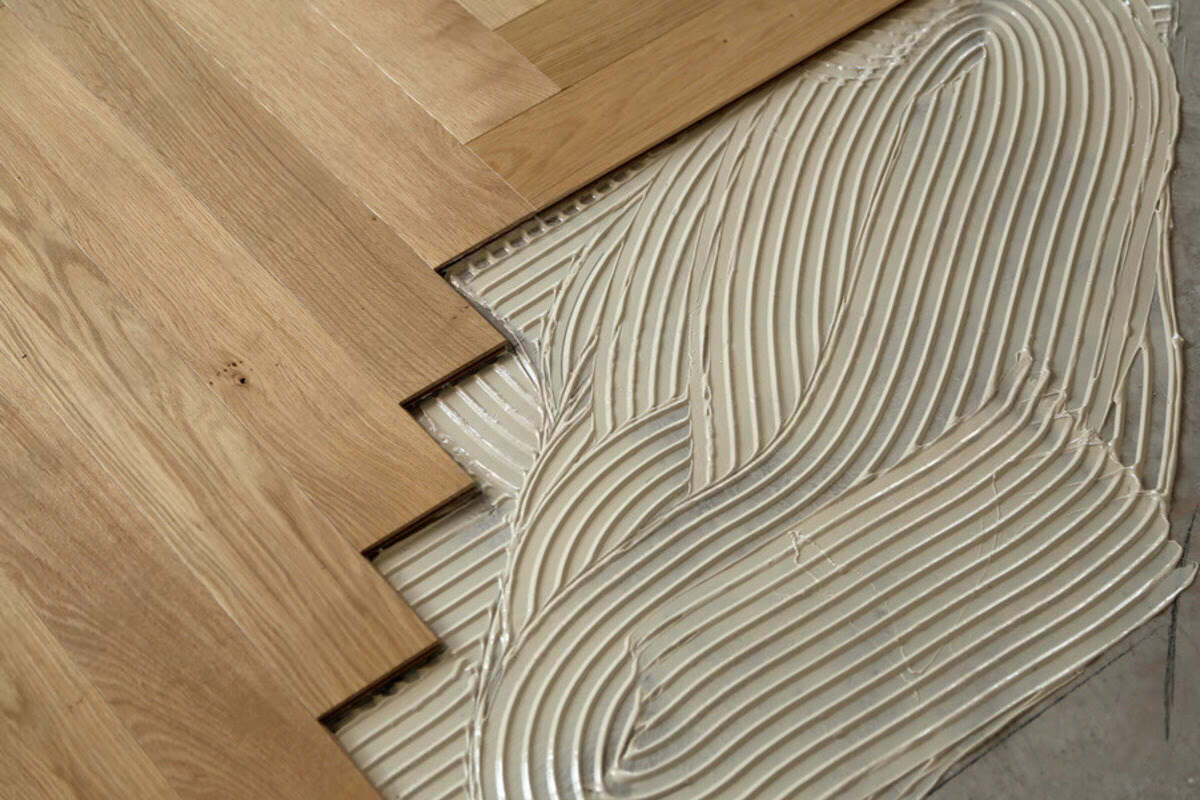
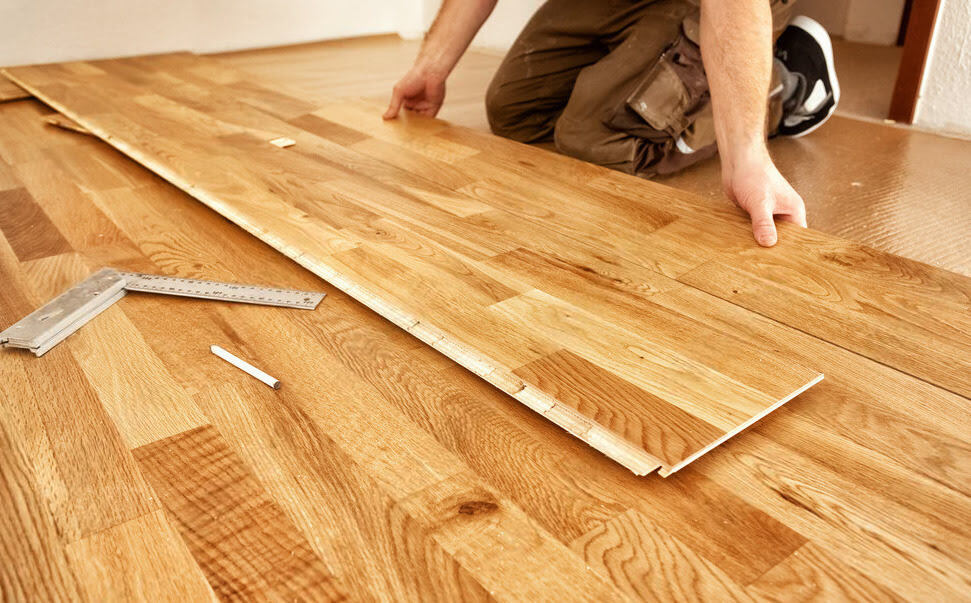
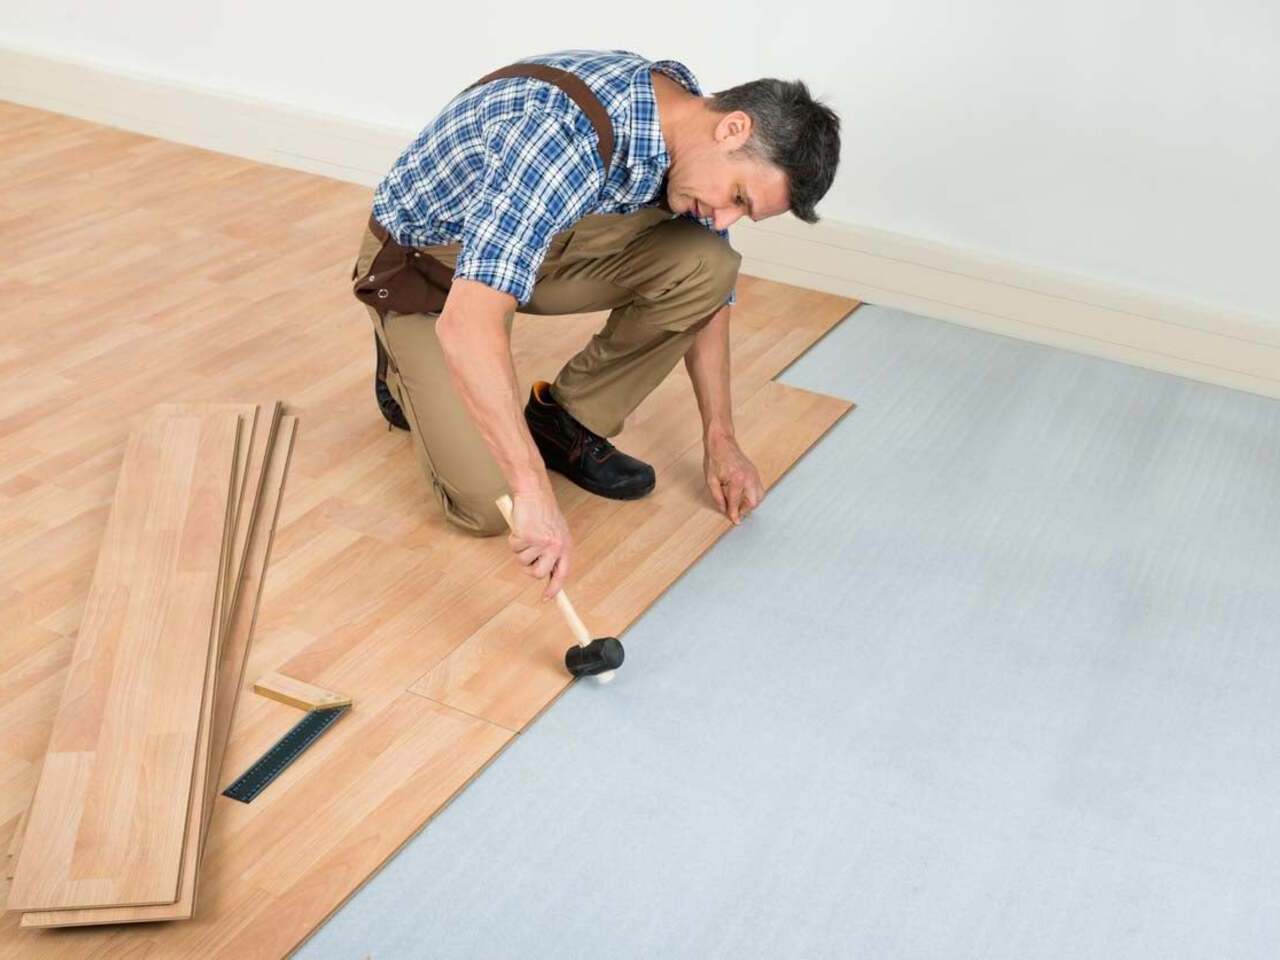
Installation Factors (Layout, Transitions, Subfloor)
Wide boards don’t like bad subfloors. They don’t like dips. They don’t like humps. They will show every flaw the house ever had. APA standards ask for tighter flatness tolerances on wider boards, and yeah – they mean it.
On our projects, we tell clients straight up:
- expect more subfloor prep
- expect a mix of adhesive + mechanical fastening
- expect careful layout planning at transitions
- expect longer acclimation times
The finished result is worth it, but wide planks aren’t “drop and go.” They need babysitting.
Narrow Strip Hardwood Flooring
Classic Look & Where Narrow Planks Excel
Narrow strips… well, they’re the classic. If you grew up in any home built from the 60s to the early 2000s, you stepped on 2.25-inch red oak strips almost daily. They’re simple, rhythmic, and they give rooms this subtle movement your eyes follow.
In tight rooms – hallways, smaller bedrooms, old cape-style homes – narrow strips are perfect. They elongate space. They feel familiar.
Pros of Narrow Strip Floors
This is where narrow strips still shine today:
- More stable seasonally – less width = less movement.
- Hide subfloor issues better than wide boards ever could.
- Fit traditional and transitional decor naturally.
- Cost tends to be friendlier in many species.
- Gapping is less noticeable in dry seasons.
And there’s this tiny crisp sound when narrow strips lock tight as they settle. Not loud. Just a soft “tick” as everything finds its place. Wide boards rarely do that.
Drawbacks & Design Limitations
But yeah, they have limits.
- In big rooms, narrow strips can look too busy.
- More seams = more visual interruption.
- Modern or minimalist interiors sometimes feel mismatched with narrow width.
- Grain clarity drops – you’re seeing slices of grain instead of the full story.
It’s not a bad thing. Just depends on the room’s vibe.
Installation Notes & Structural Stability
Narrow strips are forgiving. That’s why so many older homes still rely on them.
- Subfloor imperfections get hidden by the small width.
- They nail down easily.
- Acclimation tends to be quicker.
- Seasonal movement is muted.
On our projects, if the floor structure is old or slightly uneven, narrow strips can save thousands in prep work alone.

Room Size, Style, and Design Considerations
How Room Dimensions Influence Plank Width Choice
Seems obvious, right? Bigger room = bigger plank. But it’s not always that linear.
Still, here’s the general pattern we see:
- Small rooms – narrow strips stretch the space visually.
- Large rooms – wide planks keep everything calm instead of jittery.
- Hallways – narrow strips guide the eye forward; wide boards can feel… well, oversized.
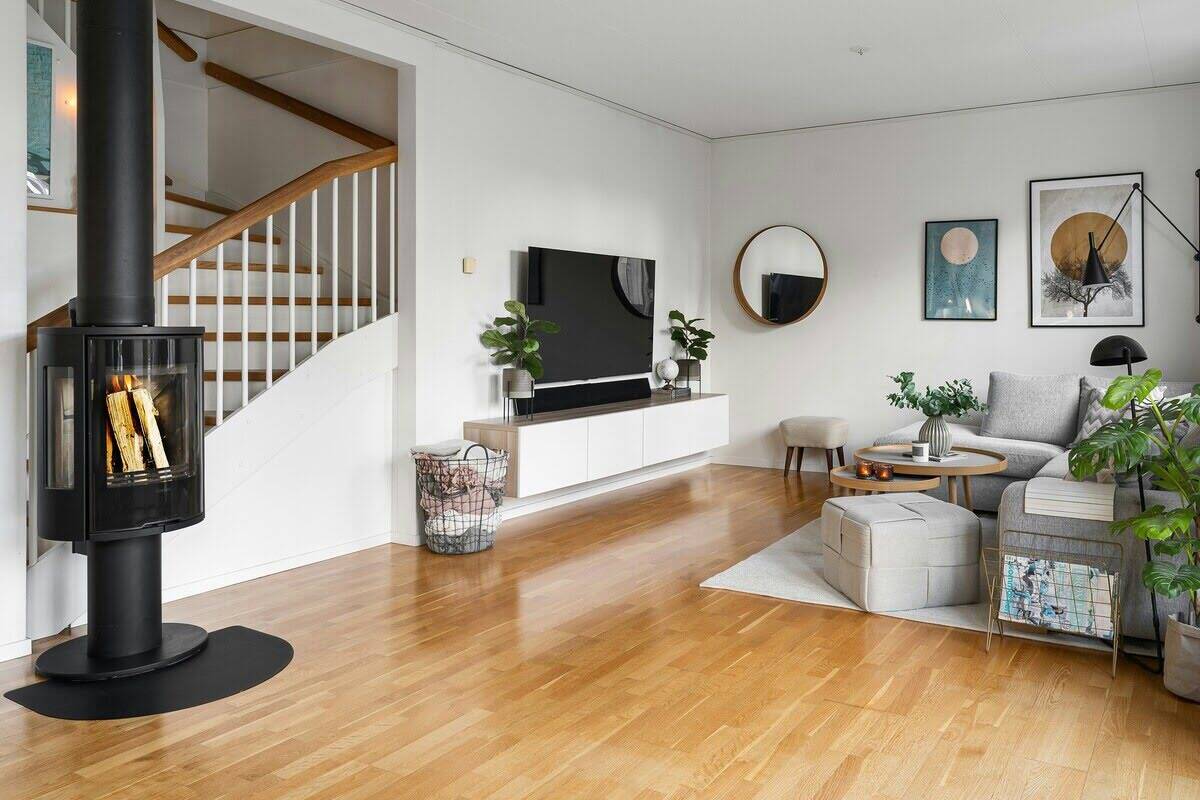
- Open concepts – wide boards carry the whole space like one continuous canvas.
It’s surprisingly easy to overwhelm a small guest room with big boards, and just as easy to make a big living space feel choppy with narrow ones.
Matching Width to Architectural Style (Modern, Rustic, Traditional)
Design plays a big role too.
- Modern spaces love wide planks – clean lines, less fuss.
- Rustic spaces love wide boards with knots and character.
- Traditional rooms naturally lean narrow – especially red oak or maple strips.
- Farmhouse style? Usually wide planks with matte finishes.
- Minimalist interiors look best with wide, select-grade boards.
We sometimes point clients to engineered hardwood flooring if they want modern-but-stable 8–10 inch boards.
Mixed-Width Designs & When They Work Best
Mixed-width floors… they’re kind of the wildcard.
They look amazing in:
- cabins
- big family rooms
- certain rustic or vintage designs
It adds warmth without chaos. Not many people know it’s an option until we show them a sample and they go, “Why didn’t anyone tell me this sooner?”

Durability, Stability & Environmental Factors
Seasonal Movement: Gapping, Cupping & Stability Differences
I’ll say it again because it matters – wood moves. According to NWFA guidelines, moisture swings hit wide planks harder. More face width means more seasonal expansion and contraction.
You might see:
- little gaps in winter
- slight cupping in humid summers
- shadow lines when the house dries fast
- crowning if moisture comes from below
Narrow strips hide movement better. Wide boards turn movement into a feature you’ll actually notice.
Engineered vs. Solid Options in Wide & Narrow Formats
Engineered really shines in wider formats. Its multi-layer build helps control movement.
So if someone wants 9–12 inch boards, our pros usually say something like:
“Well… engineered might save you headaches later.”
Not because solid is bad – solid is great – but engineered handles humidity swings better. Especially if you have radiant heating or live somewhere where summers feel like a sauna.
Humidity, Climate & Long-Term Performance
EPA and NWFA both say hardwood likes a consistent environment. Somewhere in the 30–50% humidity range.
Homes that go from desert-dry to tropical-wet every season will see more movement. And yeah – wide planks exaggerate that.
Typical advice we give:
- don’t shut HVAC off for days
- avoid extreme humidity swings
- check subfloor moisture before install
- fix crawlspace moisture issues early
Narrow strips just shrug more of this off.
Cost, Availability & Practical Considerations
Price Differences: Wide Plank vs Narrow Strip
Here’s the table again – I’ve added a quick note just to make it feel more “shop talk.”
| Factor | Wide Plank | Narrow Strip |
|---|---|---|
| Material cost | Higher | Moderate |
| Installation cost | Higher (more prep) | Moderate |
| Subfloor prep | Stricter | More forgiving |
| Seasonal movement | More visible | Less visible |
| Grain visibility | Strong | Subtle |
| Fits small rooms | Sometimes | Yes |
| Fits open concept | Yes | Less ideal |
Little comment from the field – wide boards often need more adhesive or longer fasteners, and that bumps cost too.
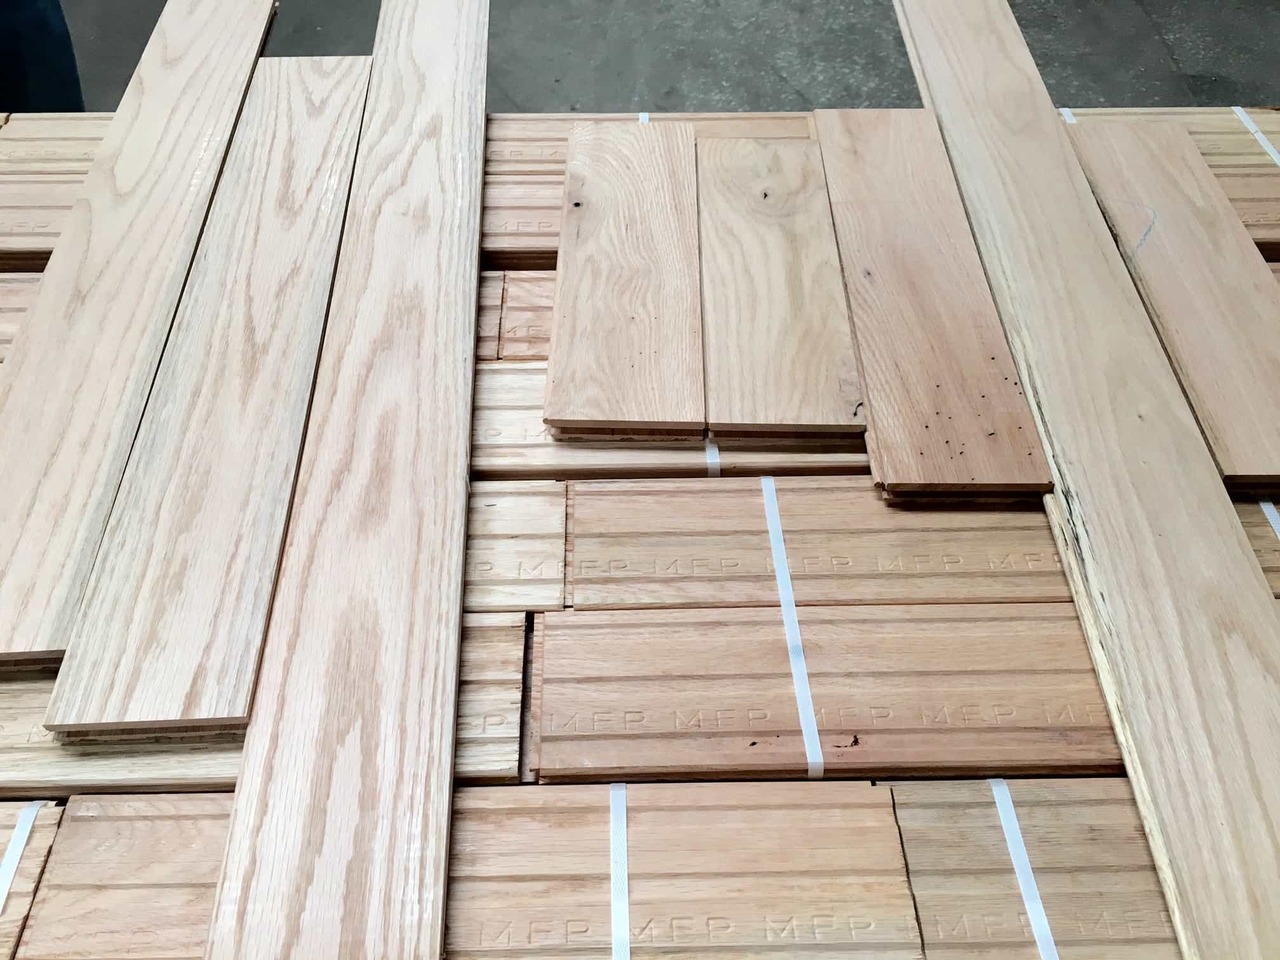
Material Availability, Species, and Grade Options
Wide planks often show up in:
- white oak
- walnut
- hickory
- character grades
- rift & quartered cuts
Narrow strips dominate:
- red oak
- maple
- classic strip floors already in older homes
Select grade tends to come in narrower widths. Character grade goes wider because wider boards show knots more naturally.
Maintenance and Long-Term Wear
Both widths need the same routine care, but visually they age differently.
- Scratches show more on wide boards.
- Narrow strips break up the scratch pattern.
- Wide boards show more stain variation.
- Narrow strips hide dents better.
If you want to dig into how to clean and care for your floors long-term, you can check out our hardwood floor maintenance guide.
How to Choose the Right Plank Width for Your Home
Room Size, Budget & Functional Needs
When clients ask us “What width should I choose?”, we look at:
- room sizes
- ceiling height
- lighting (natural and artificial)
- subfloor condition
- species availability
- budget
- climate
- pets and kids
- style goals
Sometimes the whole house can use one width. Other times, the hallway demands something different from the living room. No shame in mixing smart.
Interior Style & Current Flooring Trends
Trends come and go, but wide planks are having a long moment right now. They feel calm and clean. But narrow strips aren’t outdated – they just belong to certain styles.
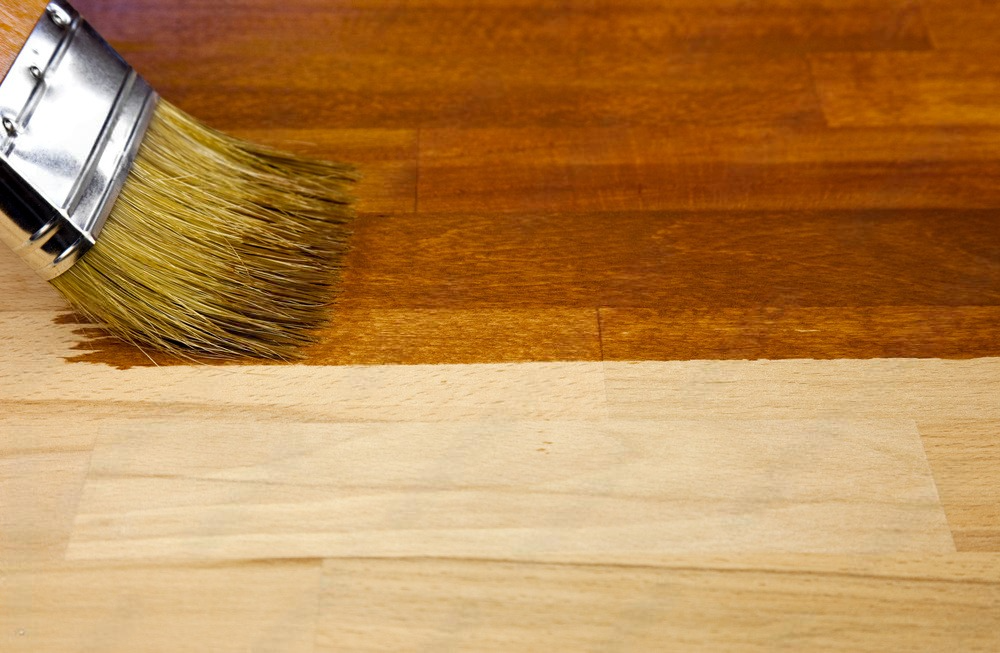
If homeowners are refinishing instead of replacing, we often point them toward hardwood floor refinishing. Width stays the same, but look and feel can shift drastically with stain and finish changes.
When to Consult a Flooring Specialist
Talking with someone who’s installed thousands of square feet of both widths helps. Our refinishers can walk into a room and tell you instantly whether wide boards will breathe or feel cramped.
We check:
- moisture levels
- subfloor flatness
- HVAC stability
- engineered vs solid options
- species that suit your climate
- what the house wants instead of what the showroom suggests
Sometimes a 5-minute visit saves months of second-guessing.
Finding the Best Fit for Your Space
Anyway… choosing between wide and narrow plank hardwood flooring isn’t about right or wrong. It’s about how you live, what your rooms demand, and what story your home is already telling. Some spaces come alive with broad, calming boards. Others feel right only when that tight strip pattern carries your eye across the floor.
And if you ever want a second set of eyes, our crews at 1 DAY® Refinishing can swing by, take moisture readings, check the subfloor, and help you picture how each width will actually feel once it settles under your feet. Hardwood is personal – and width might be the most personal choice of all.
If you’re on the fence, you can always grab a free quote from us – no pressure, just straight answers on what’ll work best in your home.